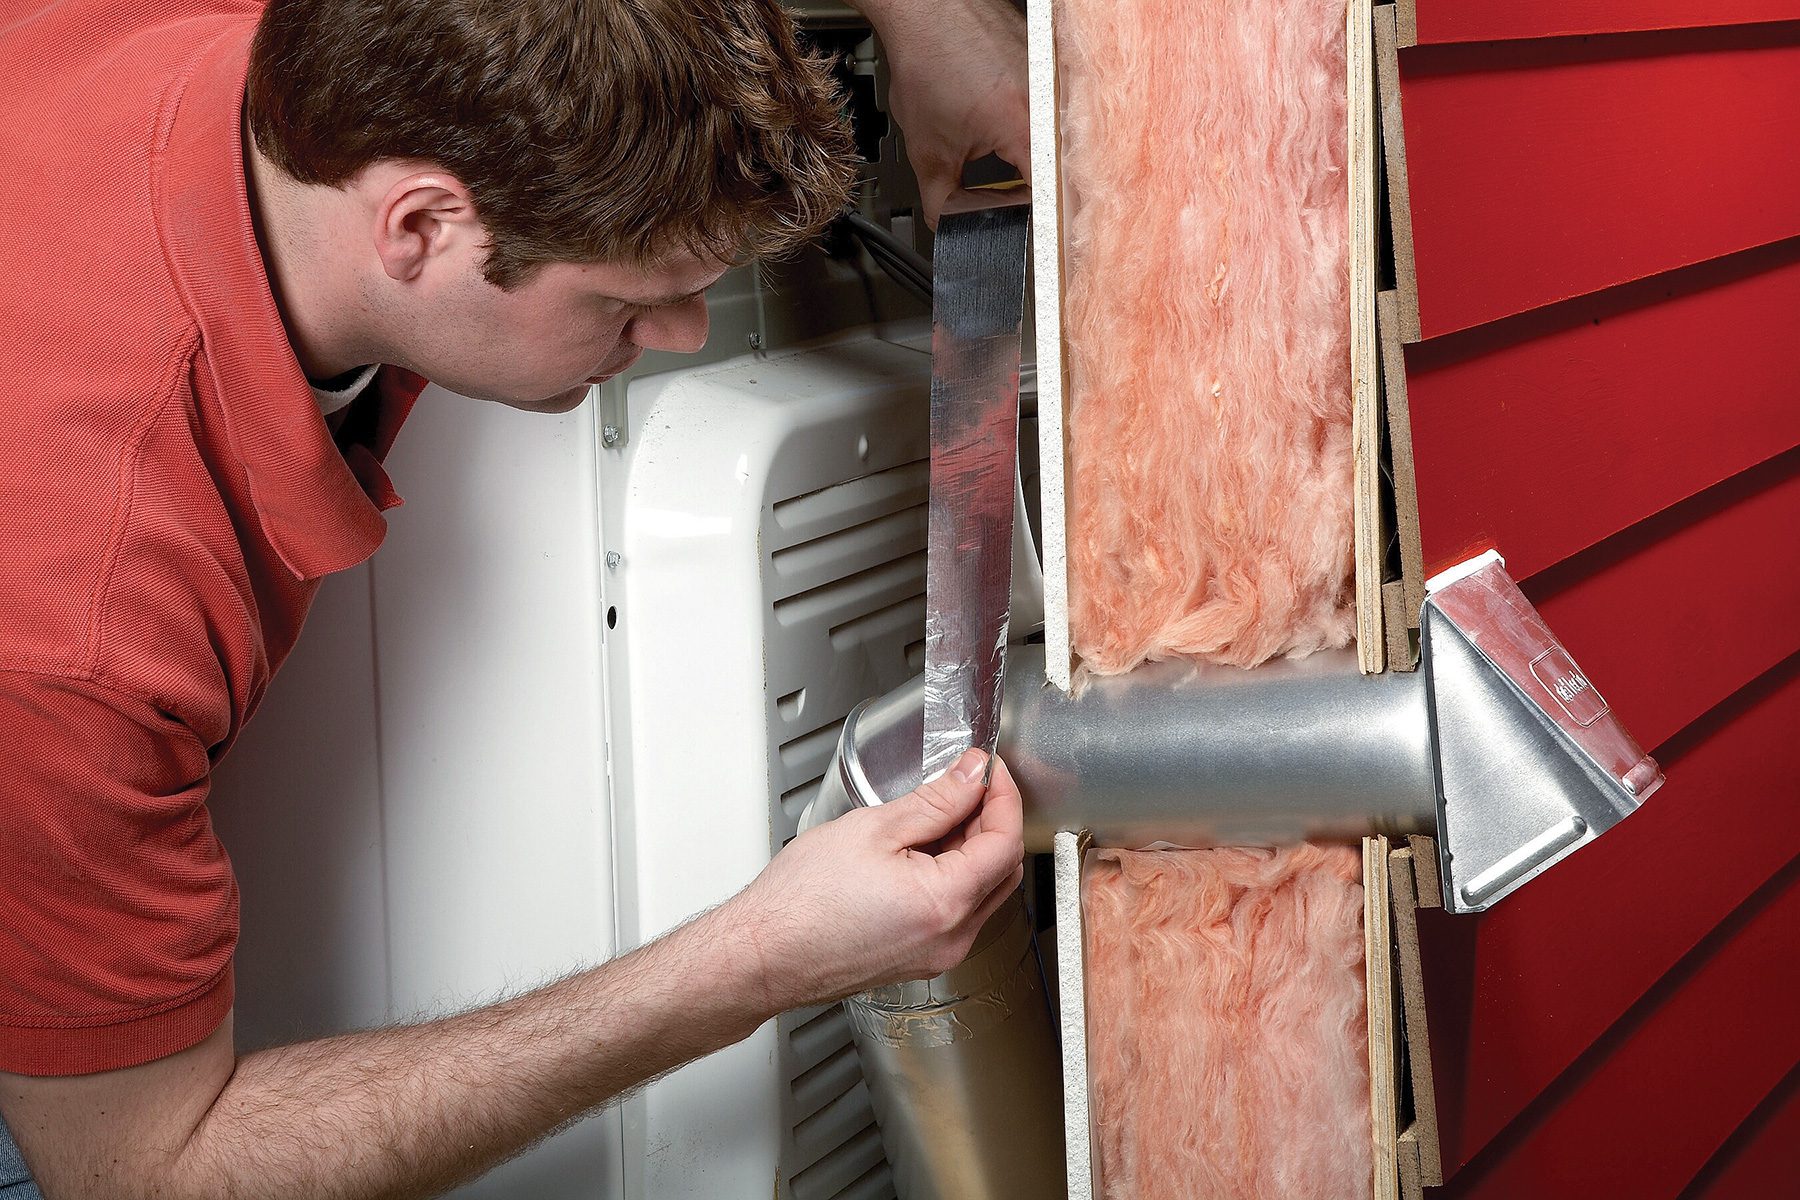
Install a new dryer vent cover in about 30 minutes.
Introduction
Replace a broken dryer vent cap simply and quickly. Disconnect the through-wall duct and replace the duct and cap together.
Tools Required
- 4-in-1 screwdriver
- Caulk gun
- Tin snips
- Utility knife
Materials Required
- Acrylic caulk
- Metal tape
- New vent cap
Project step-by-step (2)
A metal dryer vent cover is deliberately lightweight so they can open easily. Unfortunately, this flimsiness also means they’ll break easily. The caps, especially the type with multiple small flaps, also clog easily with lint. (Avoid this type unless you’re conscientious about cleaning it.)
To replace old outdoor vent covers, start by pulling apart the duct at the last joint inside the house. If they don’t pull apart easily, look for small screws holding the sections of pipe together.
Disconnect the old dryer vent cap
Remove the screws or nails used to attach the cap to the siding and cut through the caulk around the edges. Pull out the dryer vent cover, scrape away old caulk and dirt, and then wipe the siding clean so the new caulk will stick.

Install the new dryer vent cap
Cut the new vent pipe to the same length as the old one, then slide it through the wall. Screw the cap to the siding and caulk around the edges with paintable caulk.
Finally, join the old duct inside the house to the new metal dryer vent cover. Vent caps are available at home centers.


